Create and customize a Mini Sites batch
Mini Sites (formerly Lead Gen). Upload a CSV of businesses, generate a demo mini site for each, then tweak and export.
Easiest way: let your AI do it
Connect Claude, ChatGPT or Cursor with our MCP server, then hand it your list. It can build the batch, change any business's page and export the results.
- "Make a Mini Sites batch for these 20 roofers: [paste list]"
- "On the Summit Roofing page, change the color to dark red."
- "Export the batch as a CSV with each page link."
Good to know: your AI should confirm the credit cost before it starts a batch. Each business uses one Mini Site credit. An industry we don't have photos for yet adds 5 credits once, for making its photos.
Before you start
Use one industry for the whole batch, such as plumber, roofer, med spa or HVAC. It sets the services, images and layout for every site in the batch.
Your CSV needs the business names. These columns are optional and help fill in each site: phone, email, address, logo_url and primary_color.
Do it yourself in the dashboard
Create the batch
-
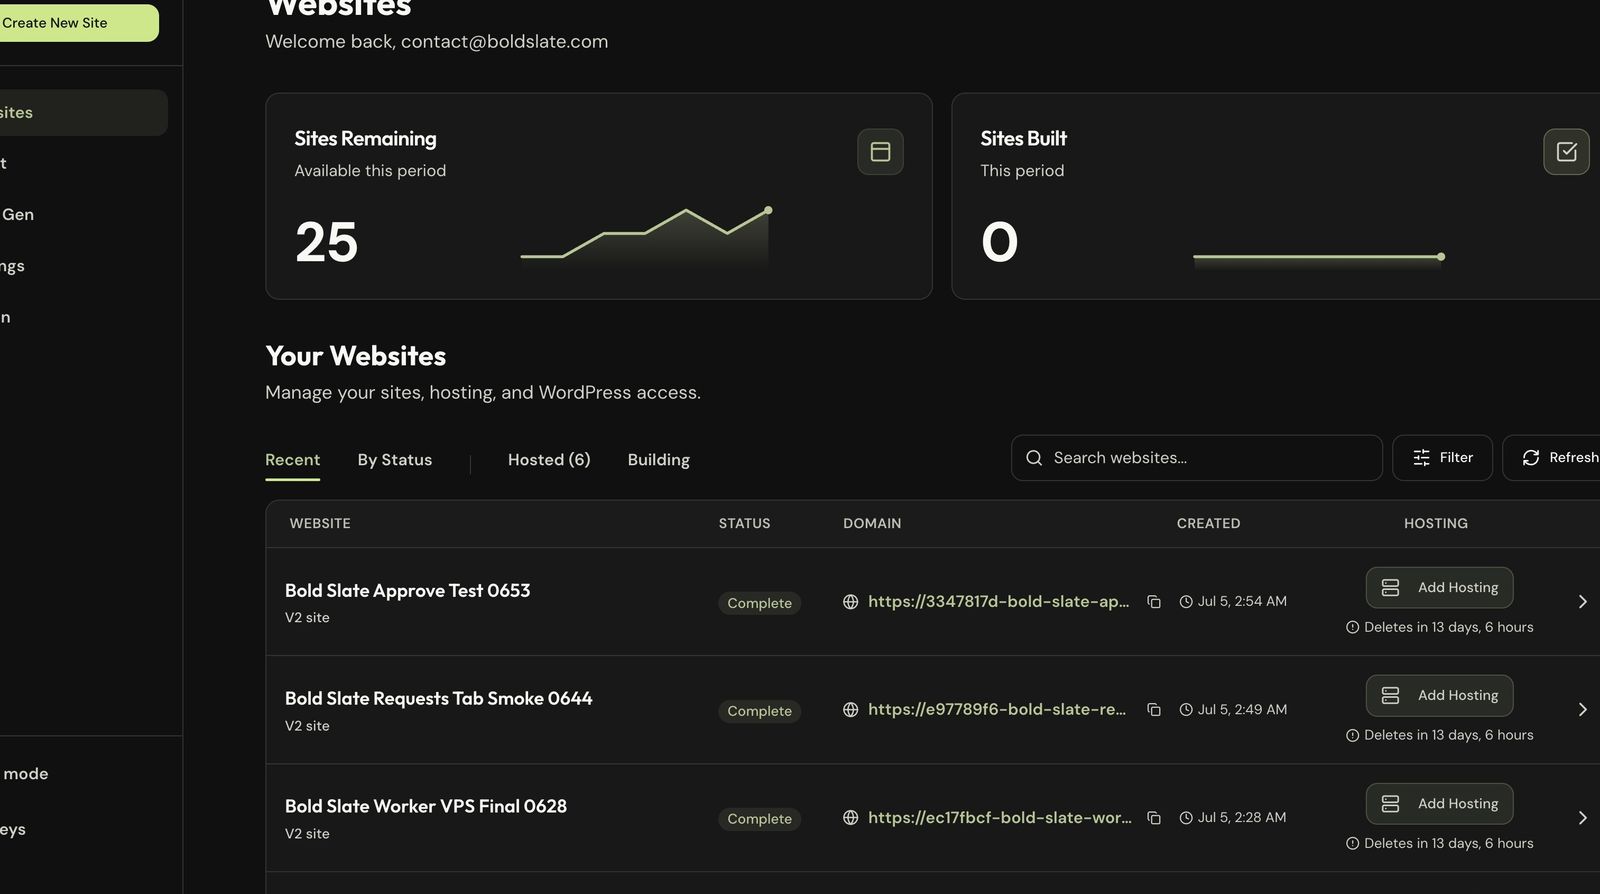
Open your dashboard Go to your 1ClickWebsite dashboard.
-
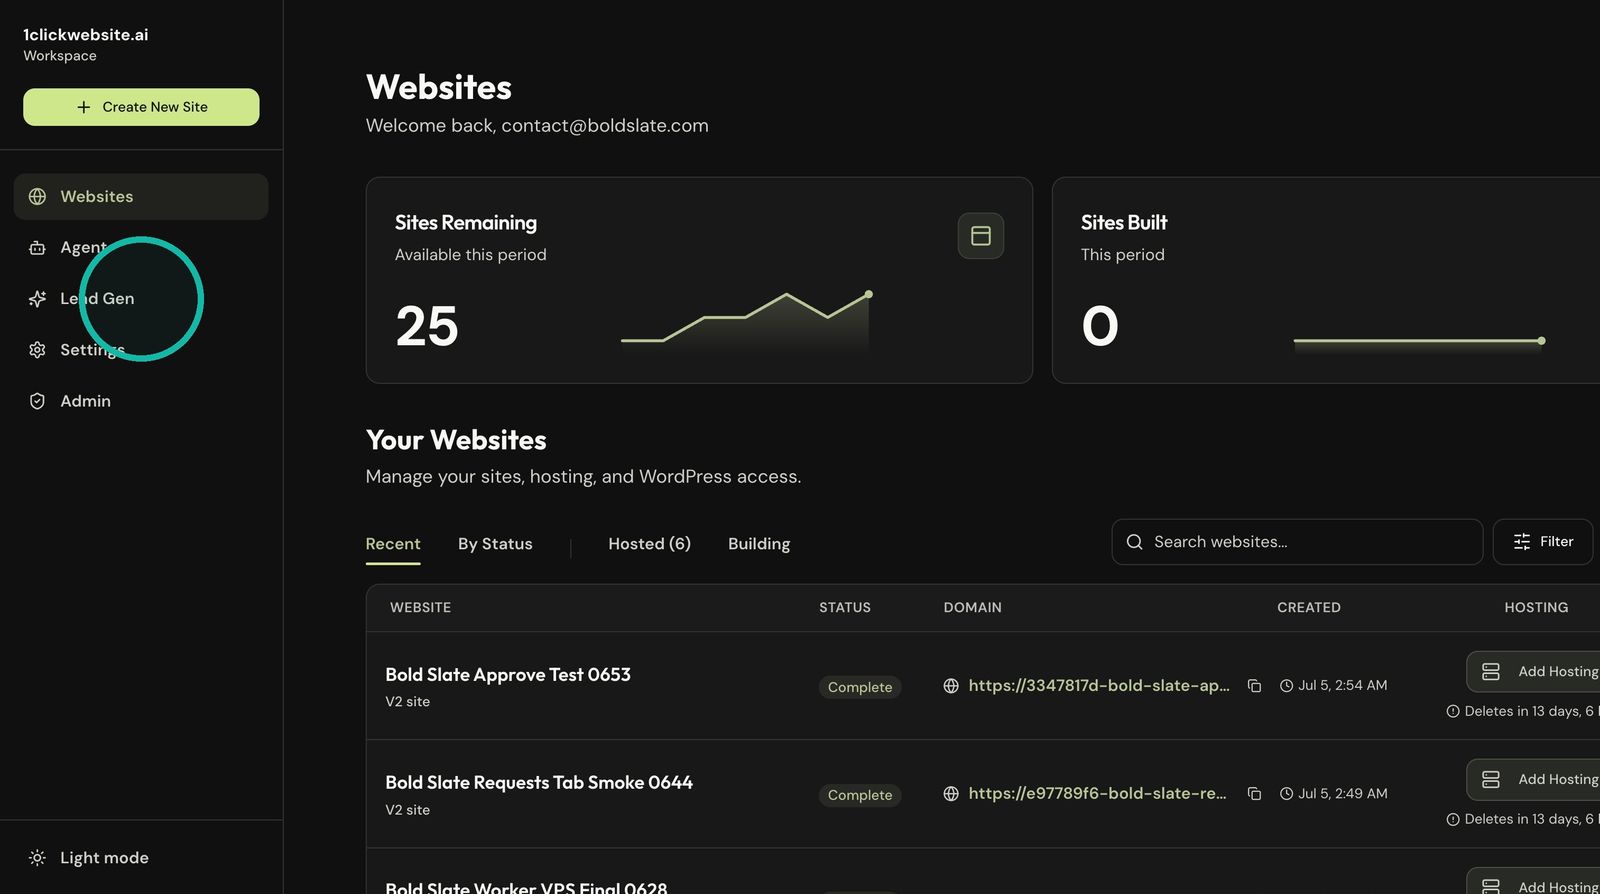
Open Mini Sites Click Mini Sites in the sidebar.
-
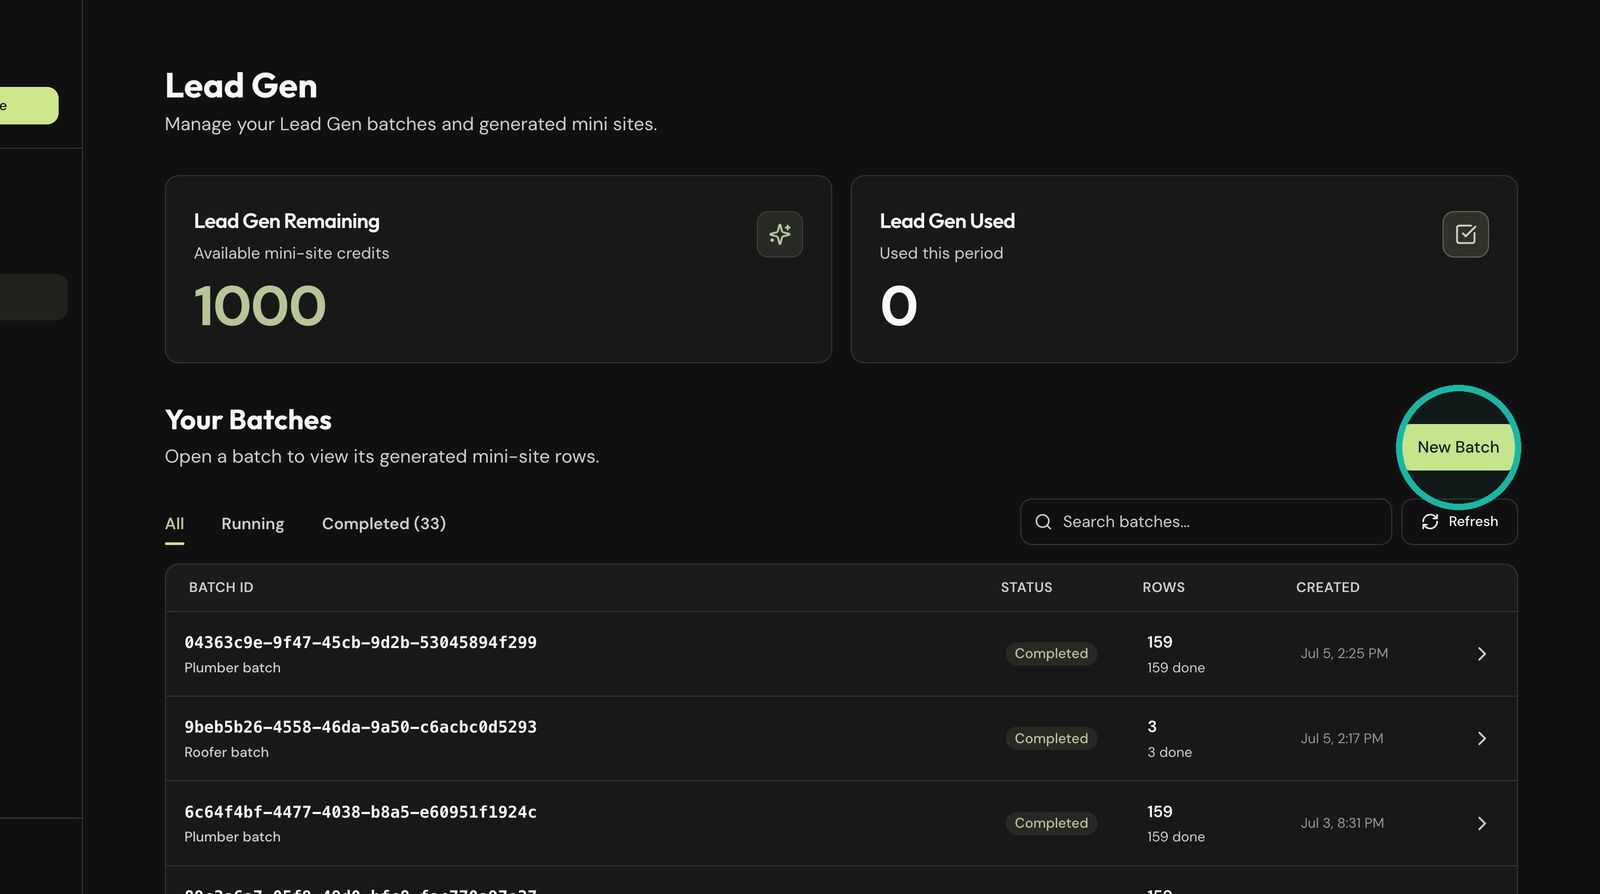
Start a new batch Click New Batch.
-
Choose the industry Enter the industry, such as
Plumber, and check the template it picks.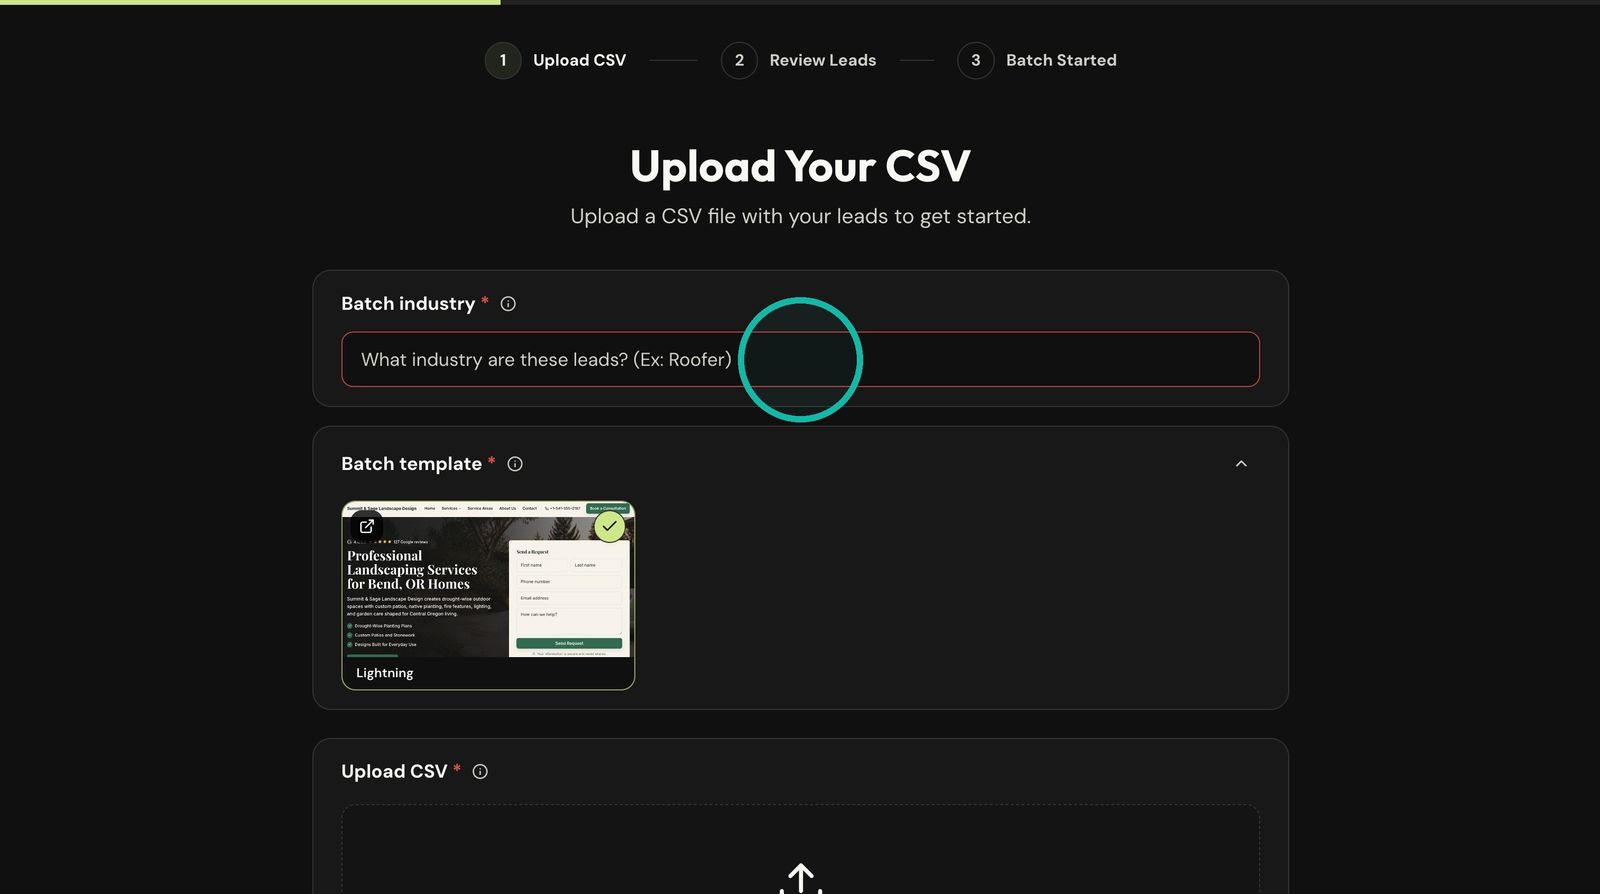
-
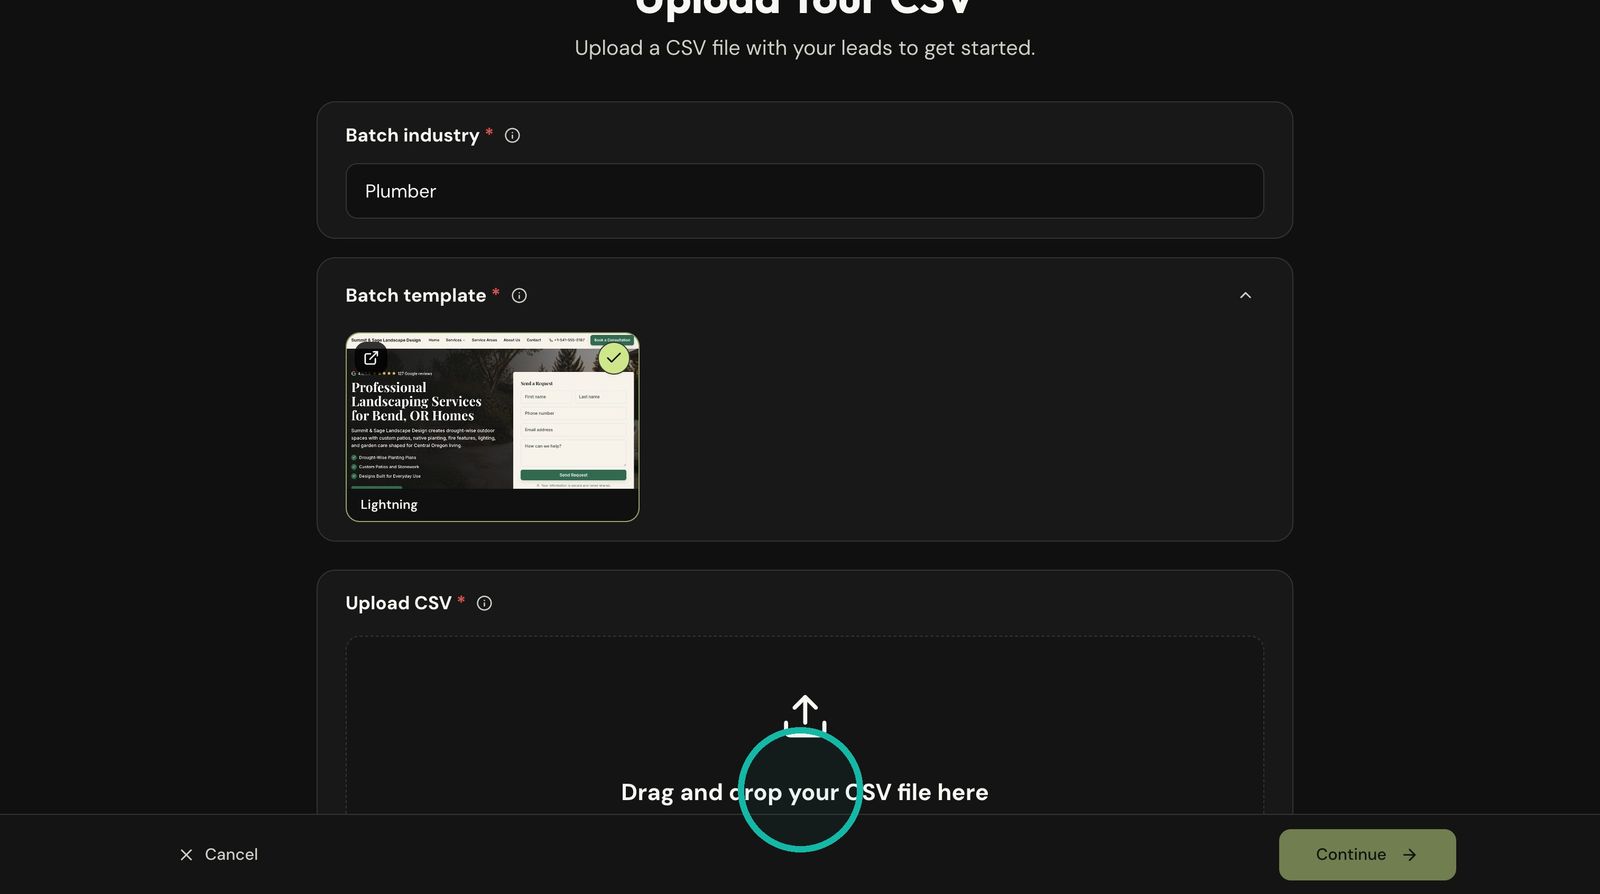
Upload your CSV Drag your CSV into the upload area, or click it to choose the file.
-
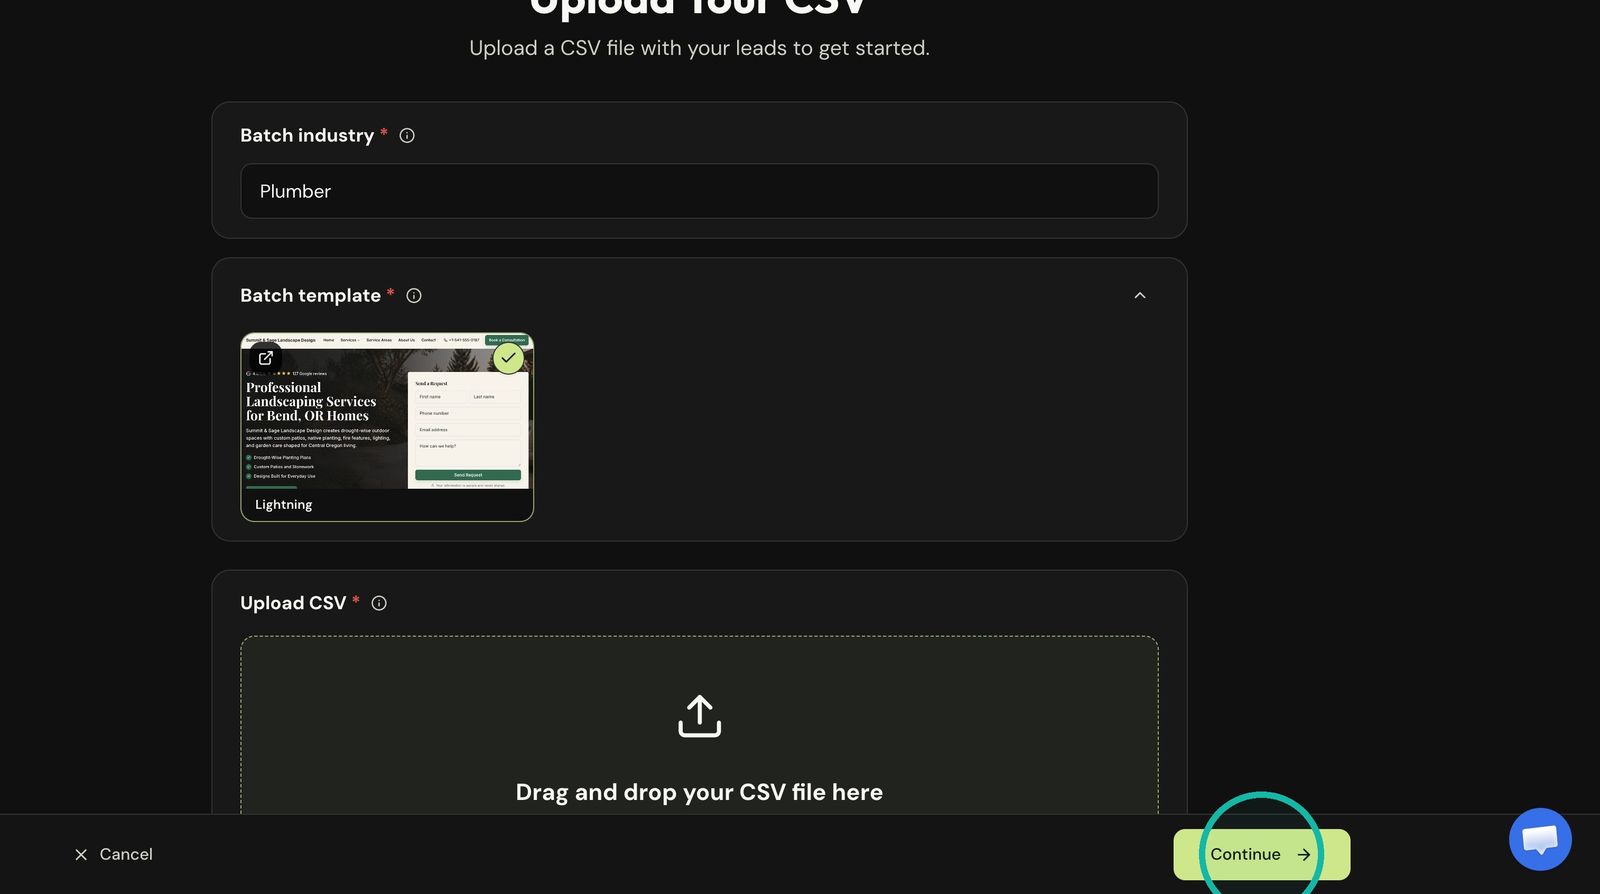
Continue Click Continue.
-
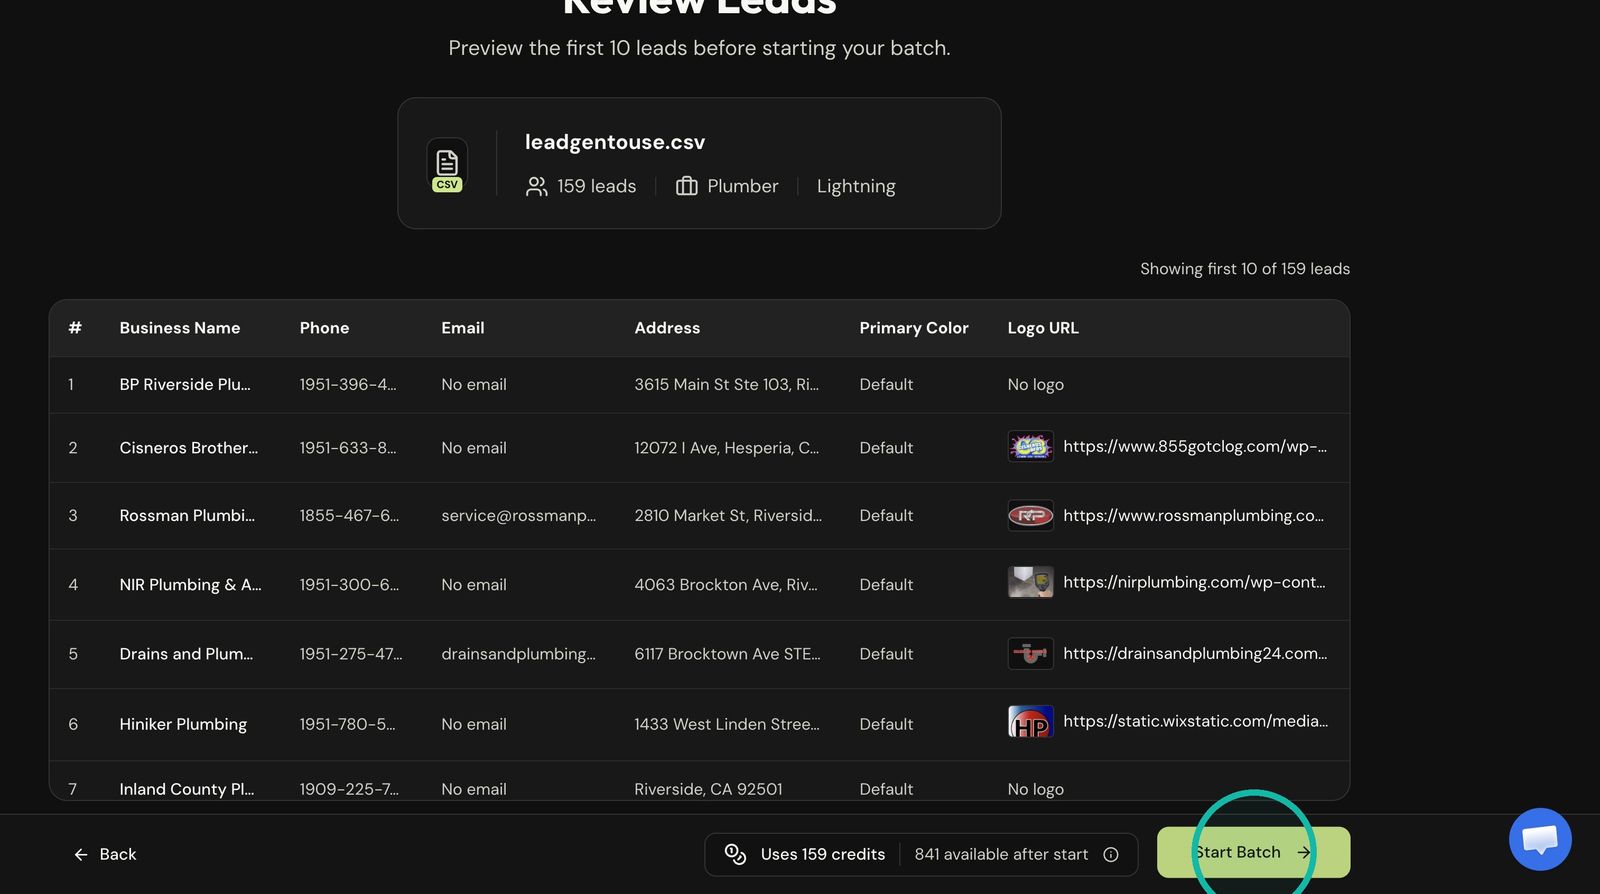
Review and start Check the leads, fields and credit cost, then click Start Batch.
-
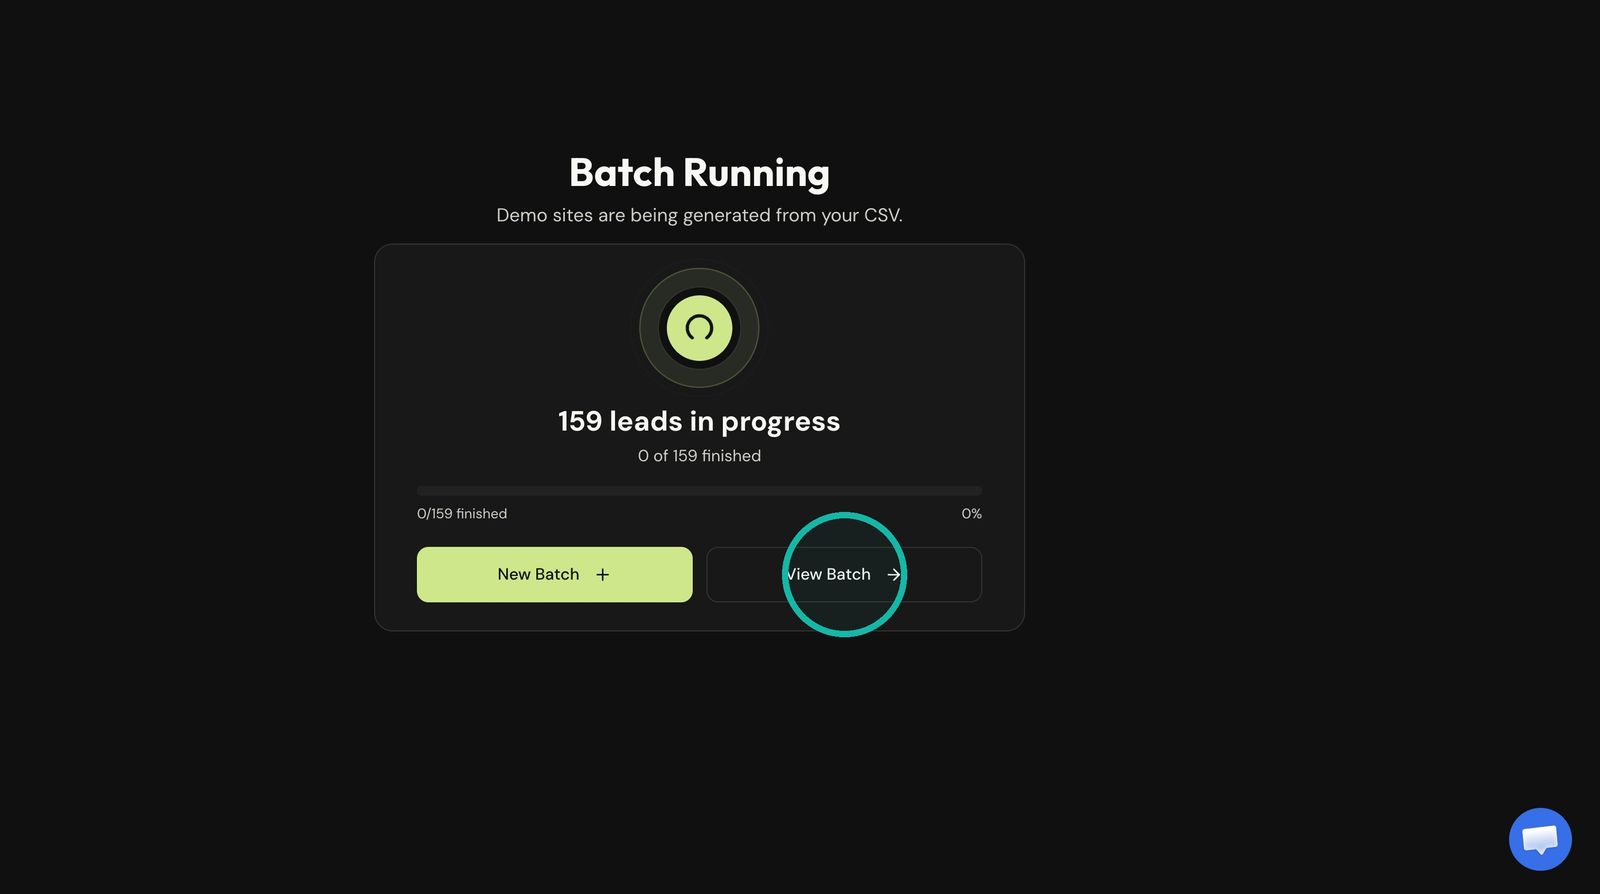
View the batch Click View Batch to see each site as it builds.
-
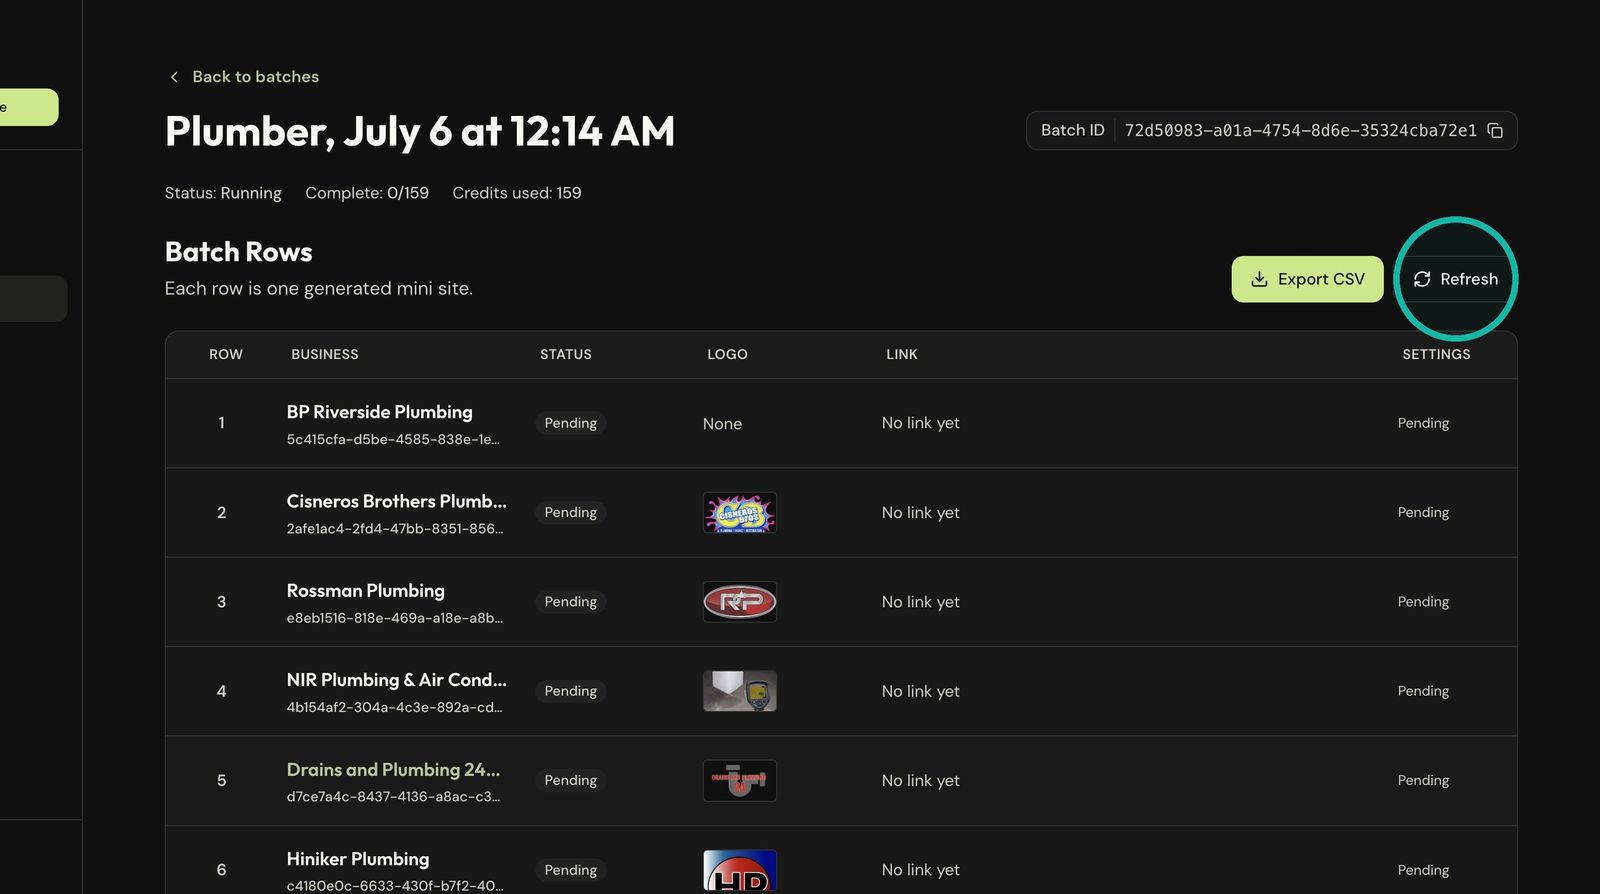
Refresh the status Click Refresh to update progress. Some rows finish before others.
Customize a site
-
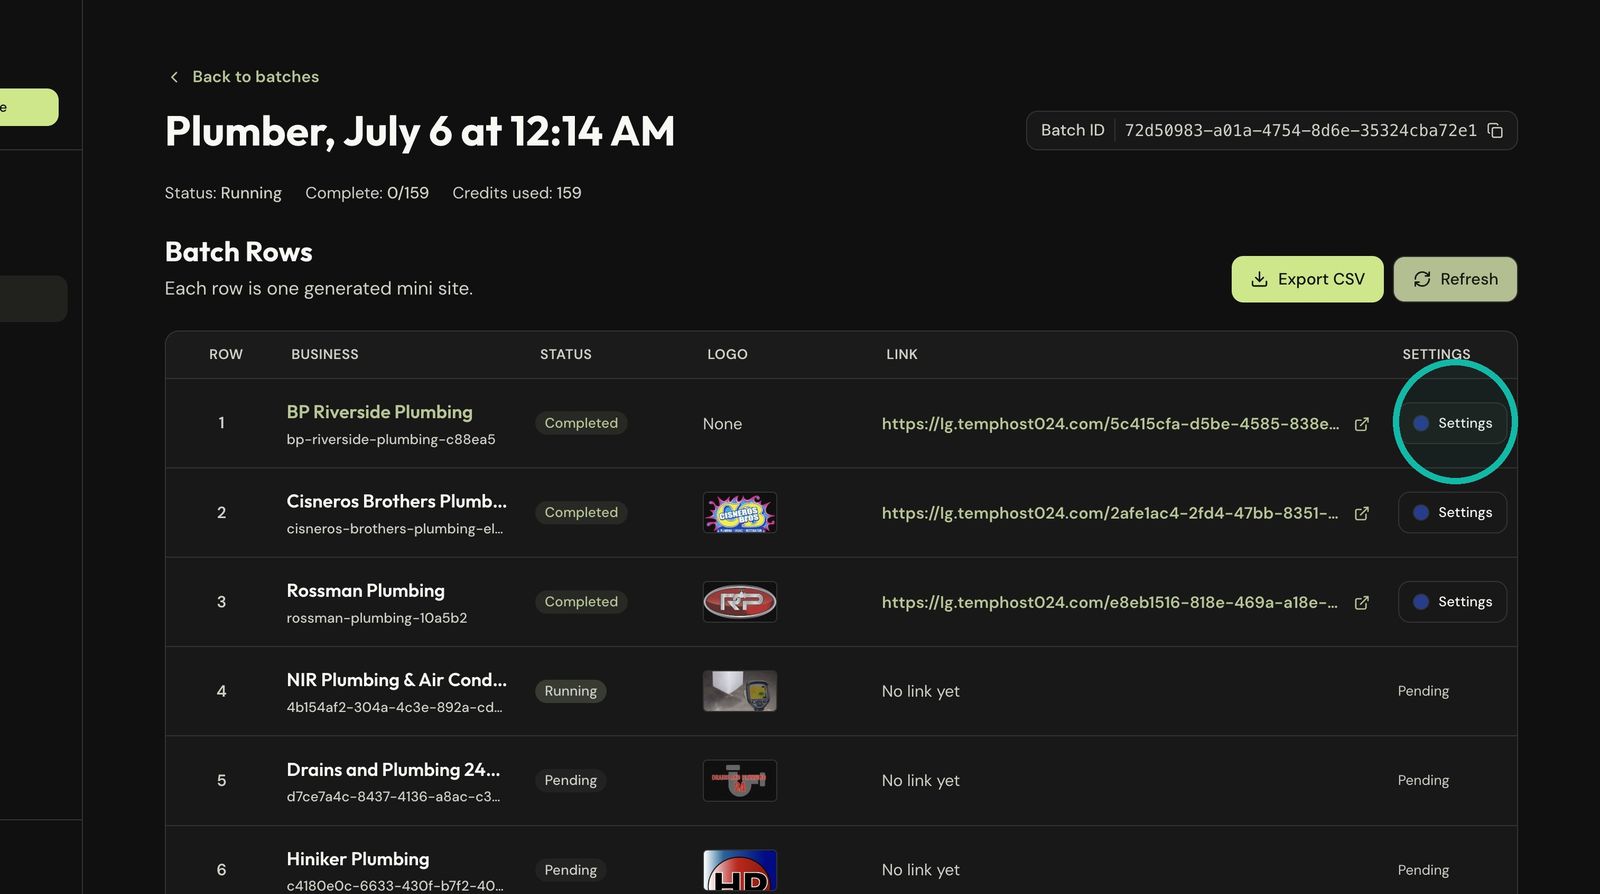
Open a row's settings When a row is done, click Settings on it.
-
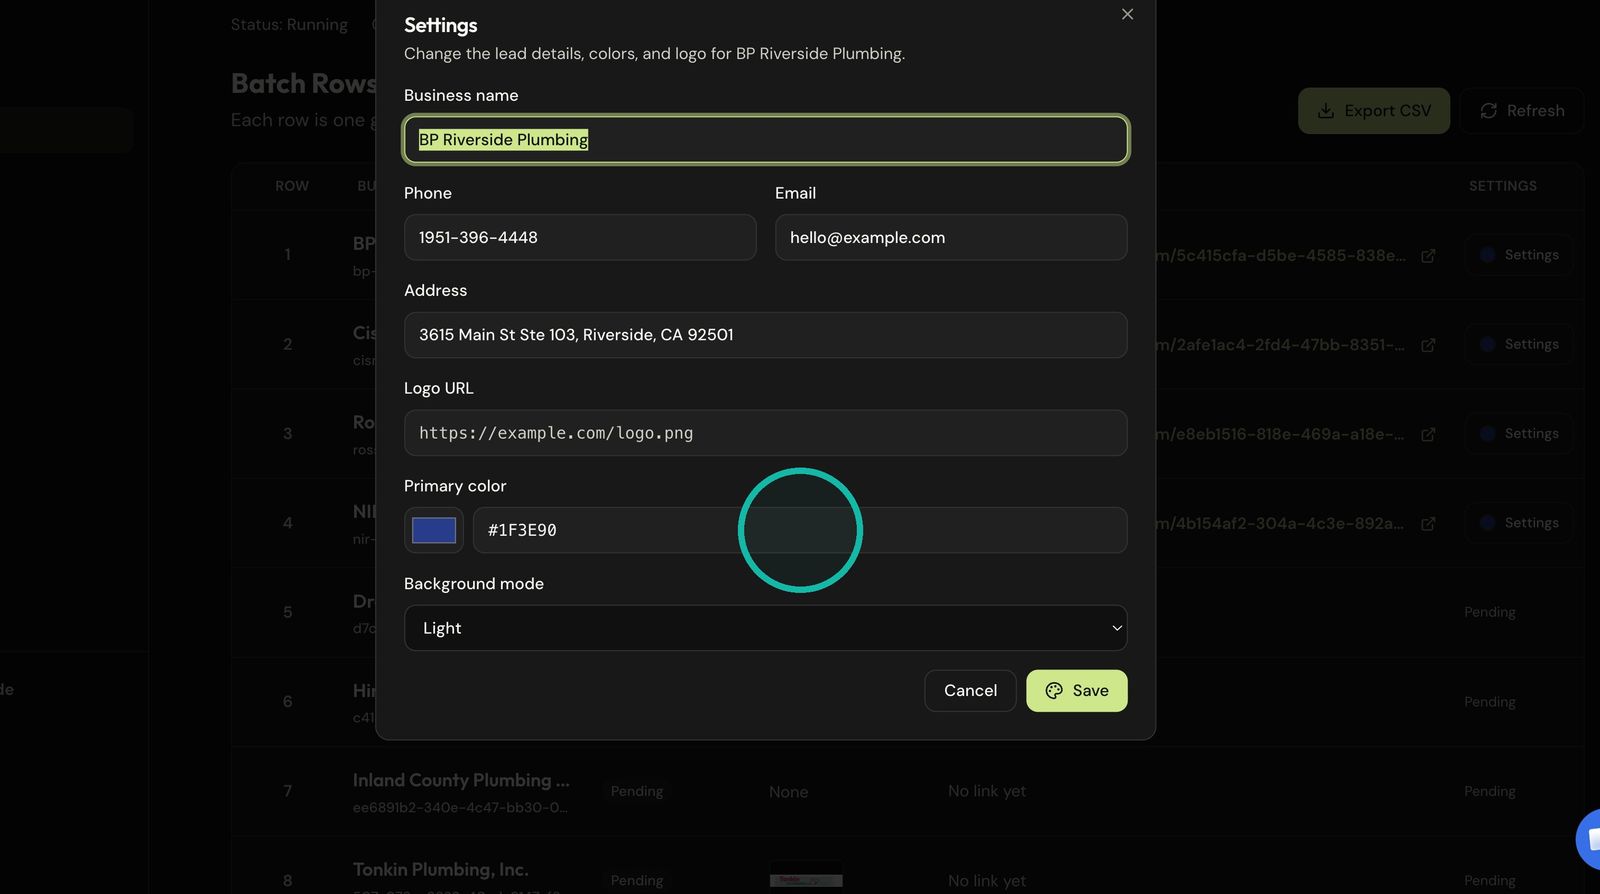
Change the details Update the business name, phone, email, address, logo URL, primary color or background mode.
-
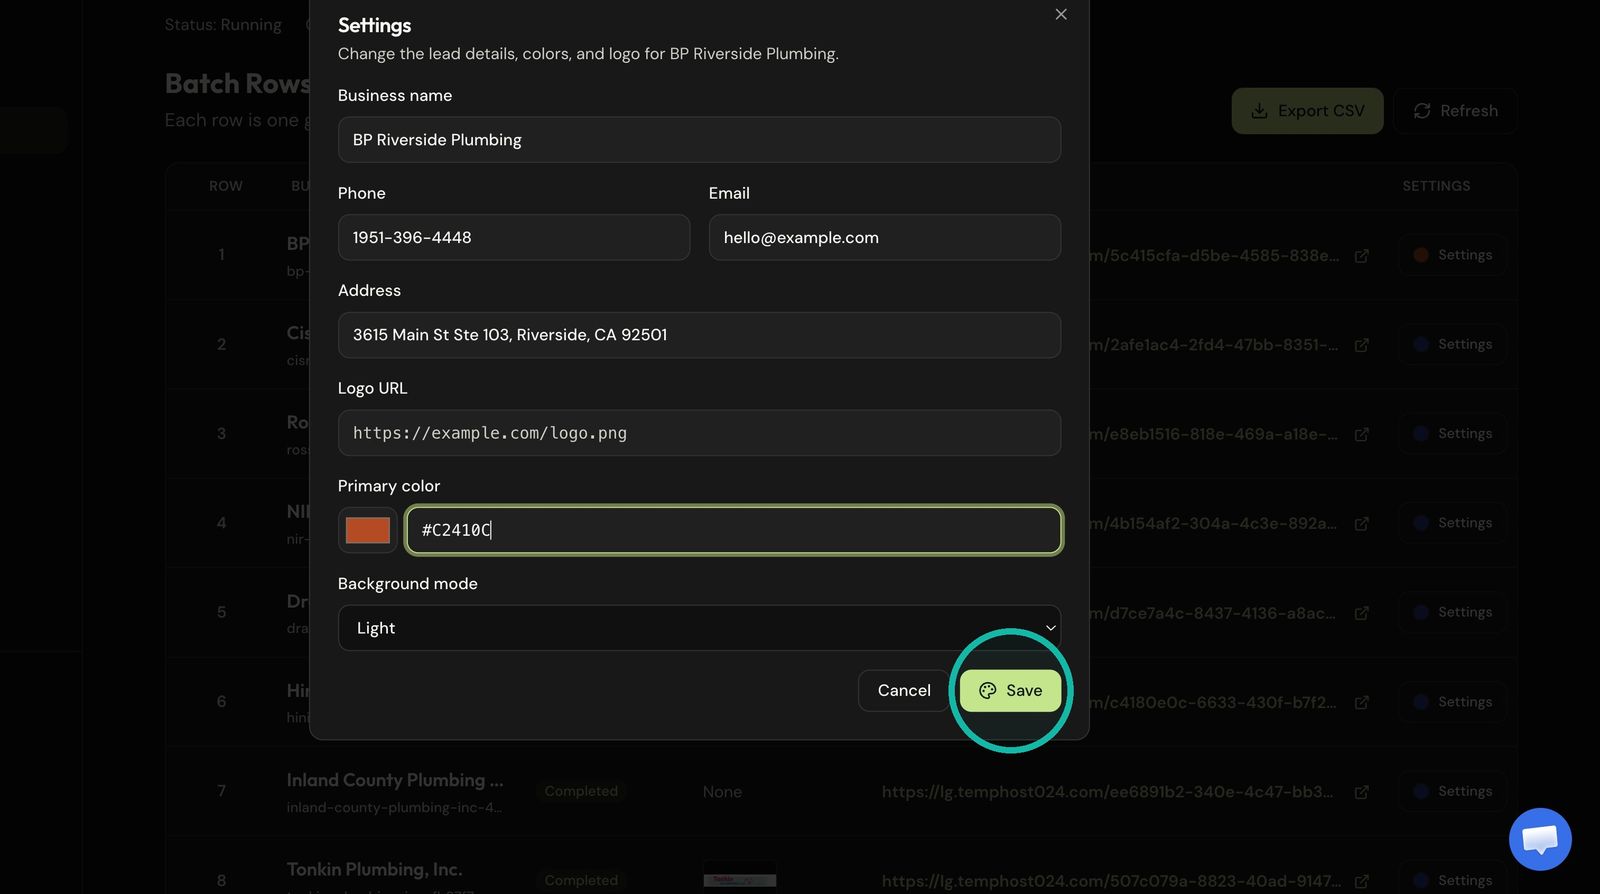
Save Click Save.
Review and export
-
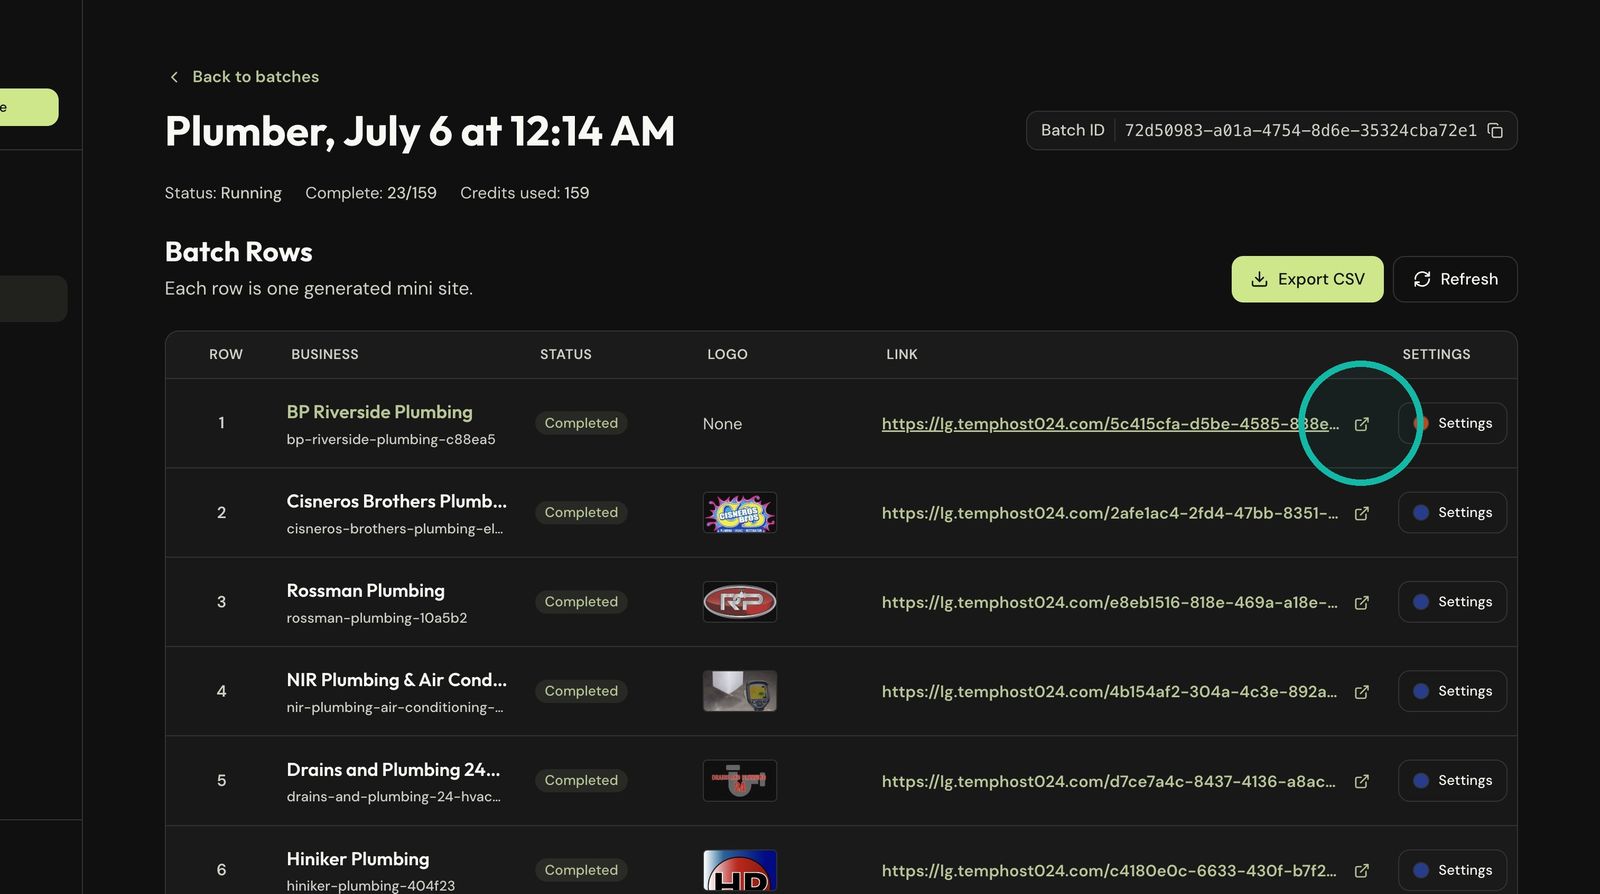
Open a site Click the external link icon on a finished row to see its mini site.
-
Export Click Export CSV to download the results.
Troubleshooting
- Some rows are still running: that's normal. Click Refresh after a minute.
- Batch failed, wrong credits charged, or a site is broken: chat with us and include the batch name.
Still stuck?
Chat with us and we'll reply right here, usually in a few minutes.